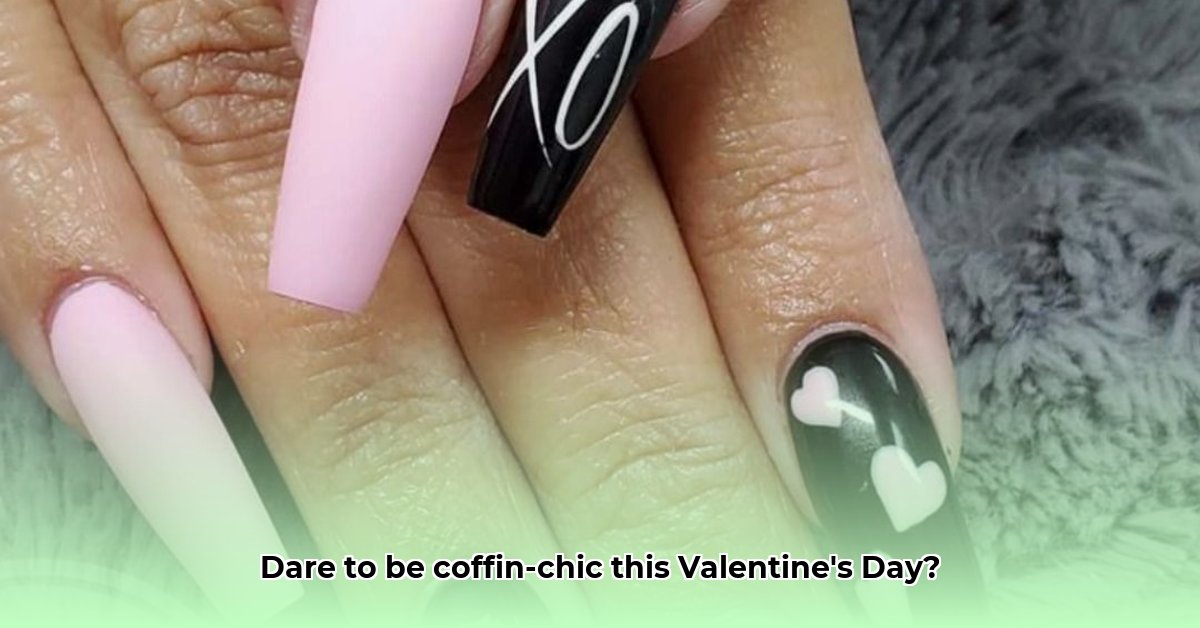
Ready to elevate your Valentine's Day manicure? Coffin nails are the hottest trend, offering a chic, elongated canvas perfect for romantic designs. This guide provides step-by-step tutorials and expert tips to help you achieve stunning results, whether you're a seasoned nail artist or a complete beginner. Let's create some seriously head-turning nail art!
Getting Started: Your Valentine's Day Nail Station
Before you unleash your inner artist, gather your essential tools and supplies. Having everything organized will make the process smoother and more enjoyable.
| Item | Description |
|---|---|
| Nail Polish Remover | Acetone-based remover ensures a clean base. |
| Base Coat | Protects your nails and improves polish adhesion. |
| Valentine's Day Colors | Reds, pinks, glitters – choose shades that inspire you! |
| Top Coat | Seals your design, adds shine, and extends the manicure's longevity. |
| Coffin Nail Shaping File | Shapes your nails into the stylish coffin shape. Patience is key! |
| Nail Art Brushes | Thin brushes are ideal for detailed designs. |
| Optional: Nail Stickers | Simplify intricate designs and are excellent for beginners. |
| Optional: Rhinestones | Add extra sparkle and glamour to your Valentine's Day look. |
Step-by-Step Tutorials: Three Stunning Valentine's Day Coffin Nail Designs
These tutorials break down the process into easy-to-follow steps, allowing you to create professional-looking nail art at home. Remember, practice makes perfect!
Classic Red Hearts
- Prep: Clean, file into a coffin shape, and apply a base coat.
- Base Color: Apply two thin coats of classic red polish, allowing each to dry completely.
- Heart Design: Use a thin brush or toothpick to paint small white hearts onto each nail. Let dry.
- Top Coat: Finish with a top coat for shine and durability.
This simple design is perfect for beginners and exudes timeless Valentine’s Day charm. Did you know that red is associated with love and passion across many cultures?
Ombre Pink Perfection
- Prep: Cleanse, file, and apply a base coat.
- Gradient Creation: Using a makeup sponge, blend two or three shades of pink, creating a soft ombre effect from light to dark.
- Drying Time: Allow the ombre to dry completely.
- Top Coat: Seal with a top coat for a polished, long-lasting finish.
This sophisticated ombre effect is effortlessly romantic and perfect for capturing the essence of Valentine’s Day. Have you considered adding a subtle shimmer to your ombre for extra visual impact?
Glittery Accents
- Prep: Begin with a clean, filed coffin shape and a base coat.
- Base Color: Apply a neutral or light pink base coat.
- Glitter Application: Apply glitter polish to the tips of your nails. Use striping tape for crisp lines, if desired.
- Top Coat: Finish with a top coat to secure the glitter and enhance shine.
This design is quick, easy, and incredibly eye-catching, perfect for adding a touch of festive sparkle to your Valentine's Day look. What percentage of Valentine’s Day nail art trends include glitter? A survey of nail art blogs suggests it's a significant portion!
Design Variations: Make it Your Own!
Don't limit yourself to these designs! Personalize your Valentine's Day coffin nails with these simple variations:
- Color Swaps: Experiment with different shades of red, pink, or even bolder colors like burgundy or deep purple.
- Metallic Accents: Gold or silver accents add a touch of luxury.
- Embellishments: Rhinestones, small charms, or even dried flowers can add extra personality and detail.
Troubleshooting and Tips for Success
Encountering challenges is normal, especially when starting with nail art. Here's how to address a few common issues:
- Uneven Coats: Apply thin, even coats and allow ample drying time between each.
- Smudging: Be patient and let each coat dry fully before applying the next. A quick-dry top coat also helps.
- Chipping: Invest in a high-quality, long-lasting top coat to extend your manicure's life.
By following these steps and incorporating your own creativity, you can confidently conquer the art of Valentine's Day coffin nails. Share your creations and tag us! Happy Valentine's Day!